
I’ve made a decision on what I want to do to cover the skirting area on my concrete front porch. After going through several different ideas last week, I finally decided to go back to my original original idea and cover the skirting area with Austin stone to match the stone portion of our house.
This is what I wanted to do from the very beginning. Years ago, when I built the floating wood porch over the concrete porch, my original vision was to carry the Austin stone that covers half of the front of our house onto the front porch. Austin stone is a white/light-colored limestone that is ubiquitous in Texas, and it’s called Austin stone here in Texas because it’s quarried around the Austin and Texas Hill Country area.
The problem I ran into back then was that I couldn’t find any Austin stone that matched the stone on our house. I wasn’t concerned about matching the color because ours is painted. Unfortunately, our stone was painted when we bought the house, so my options were either to have it sandblasted or repaint it a color I wanted. I chose the second option because it was faster and much cheaper. And honestly, I don’t really like the color of natural Austin stone anyway. Like I said, this stone is ubiquitous in this area, and it has been for decades, so it’s not really anything special, in my humble opinion. I much prefer the light gray of our house rather than having the siding portion match the yellow/beige color of a natural Austin stone.
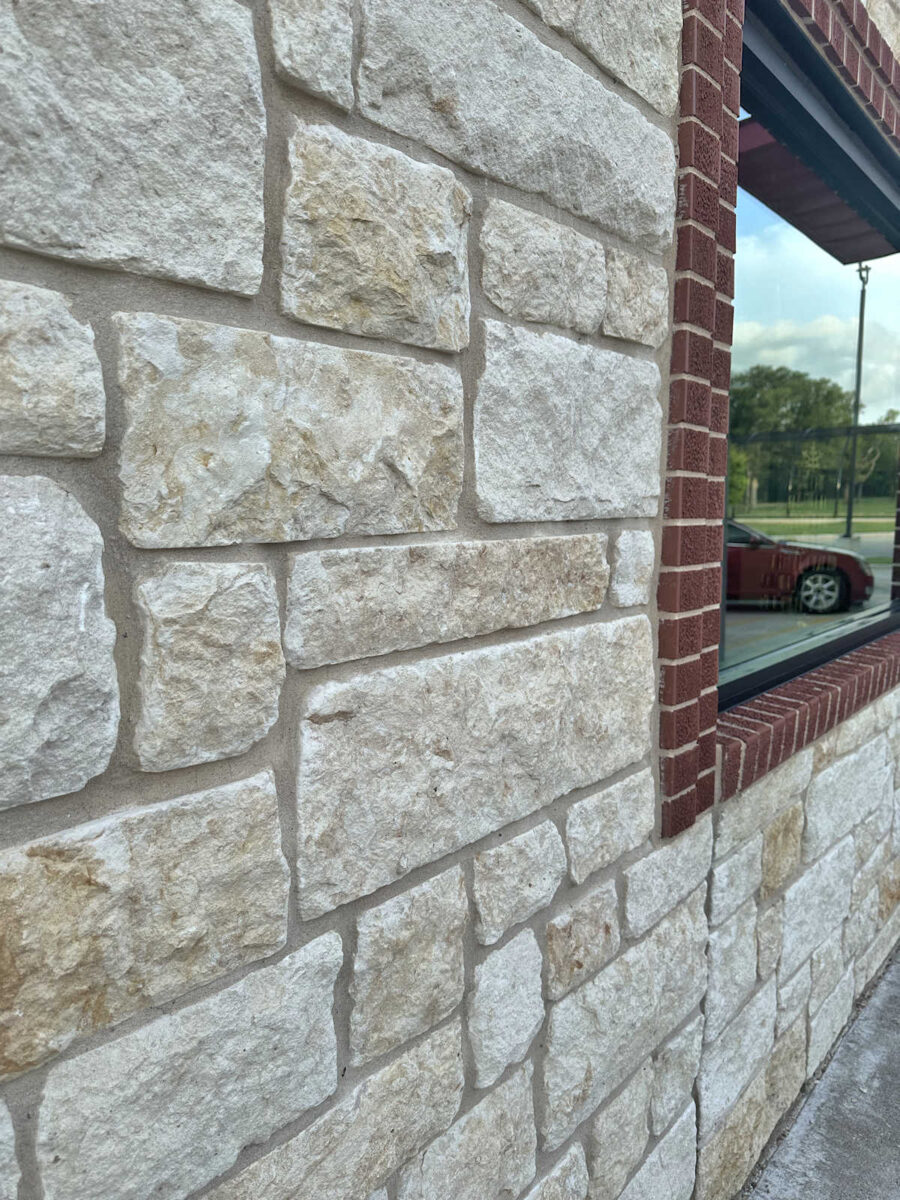
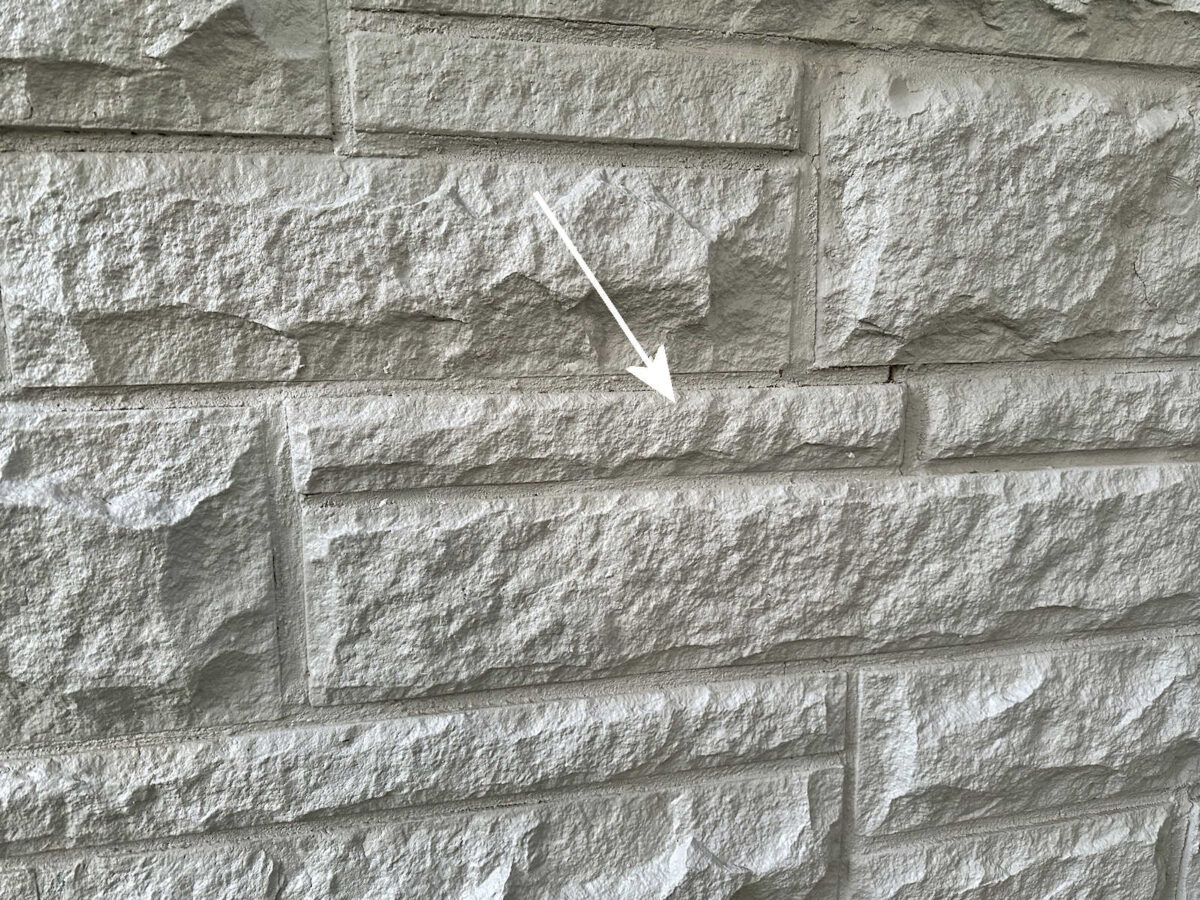
But the problem that I ran into is that Austin stone in the late 40s and early 50s was cut very differently than modern Austin stone. Here’s a more modern building with an Austin stone facade (with the natural color of Austin stone), and you can see that the stones are cut so that they’re pretty flat on the fronts.
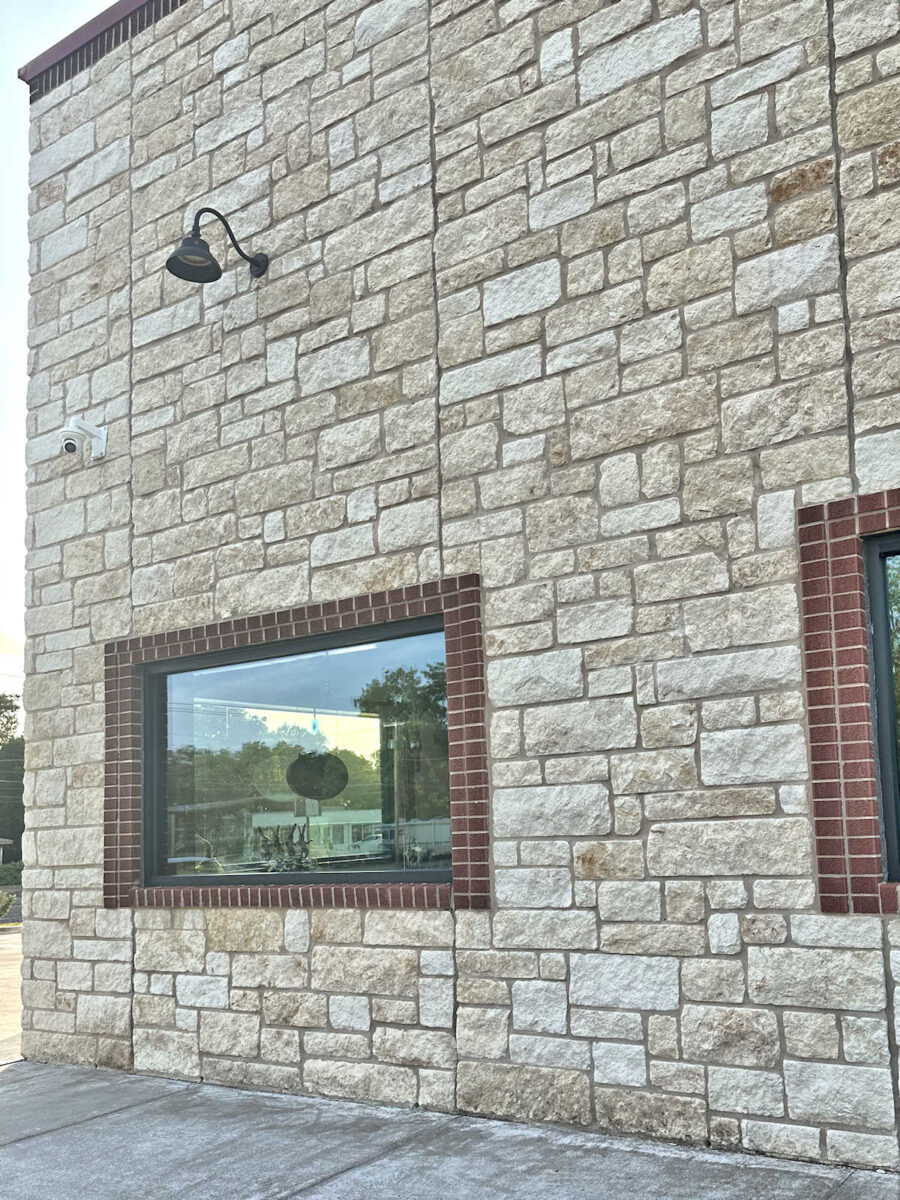
Here’s a closer view of what it looks like, and this is pretty much how all Austin stone is cut these days.
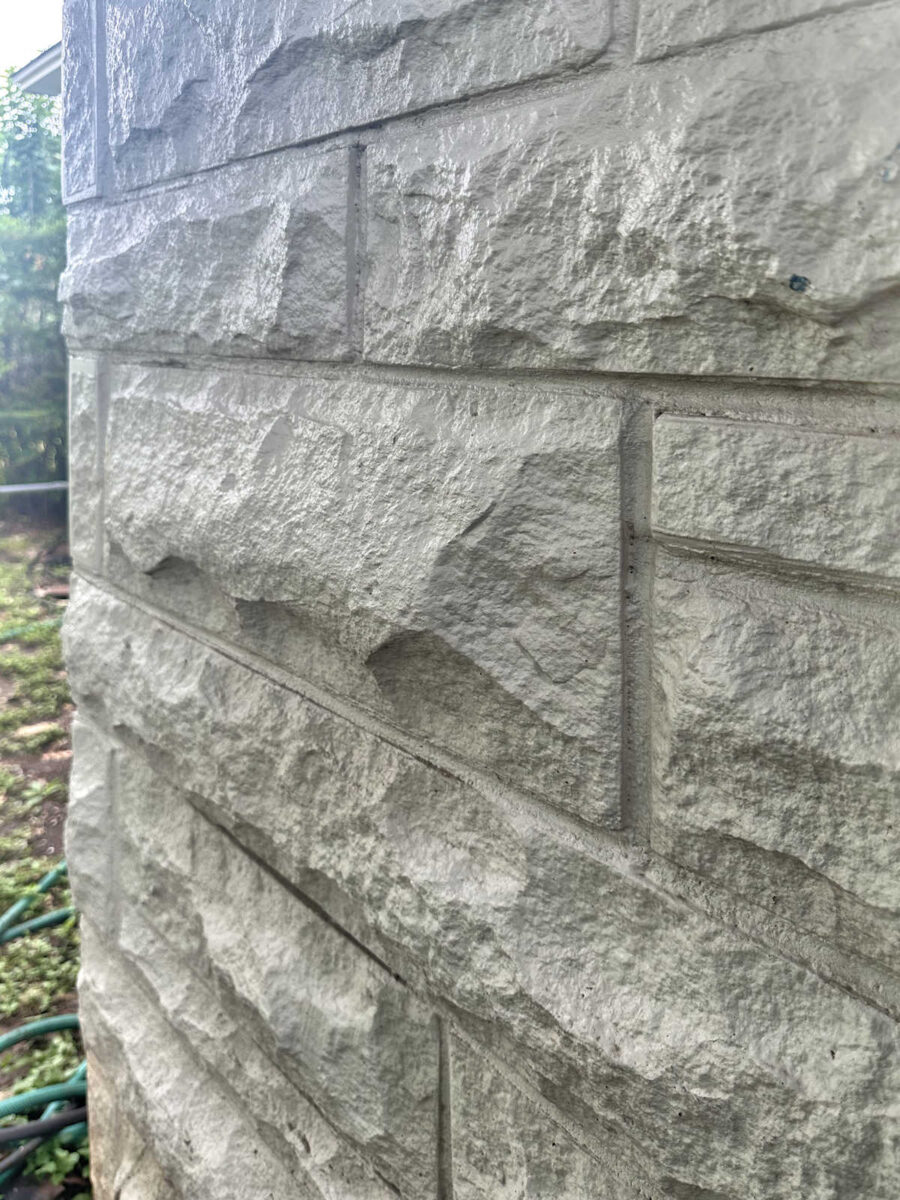
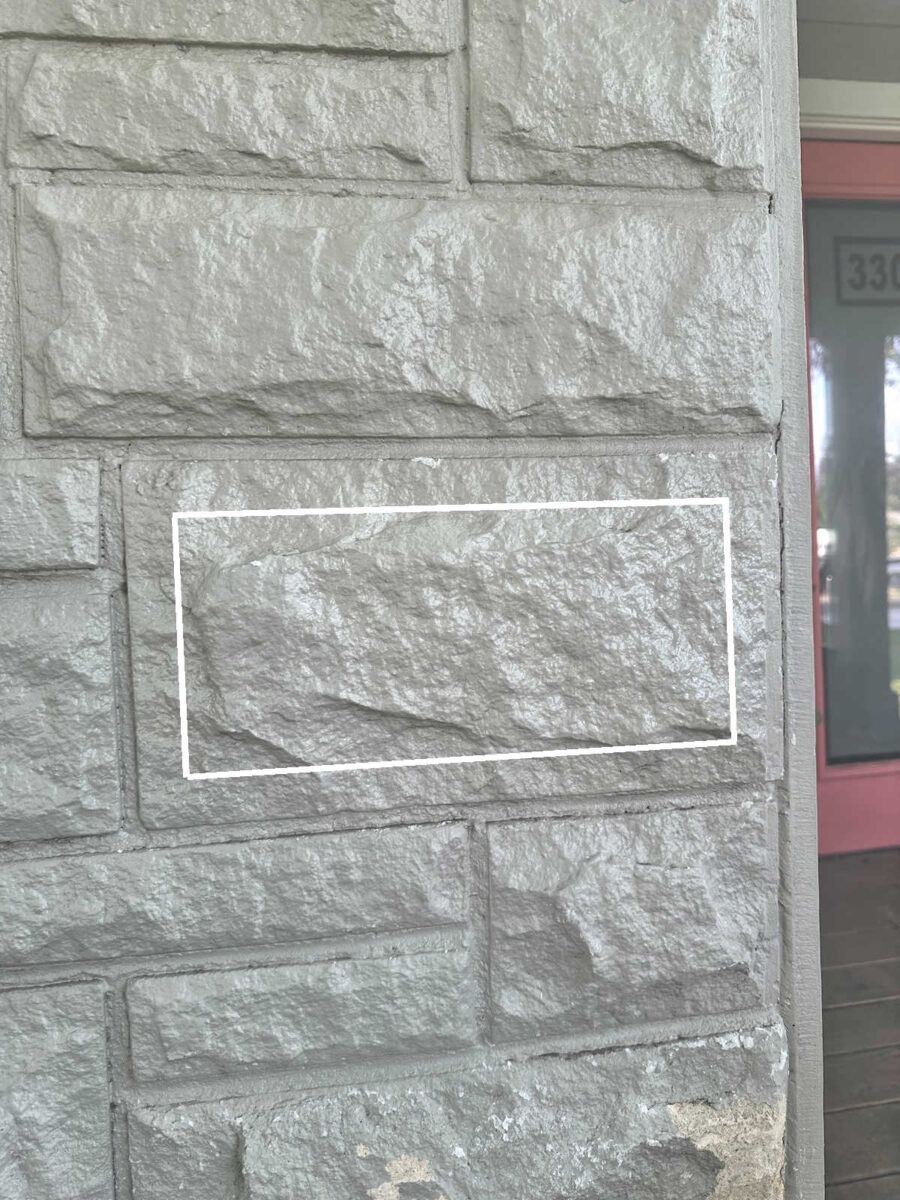
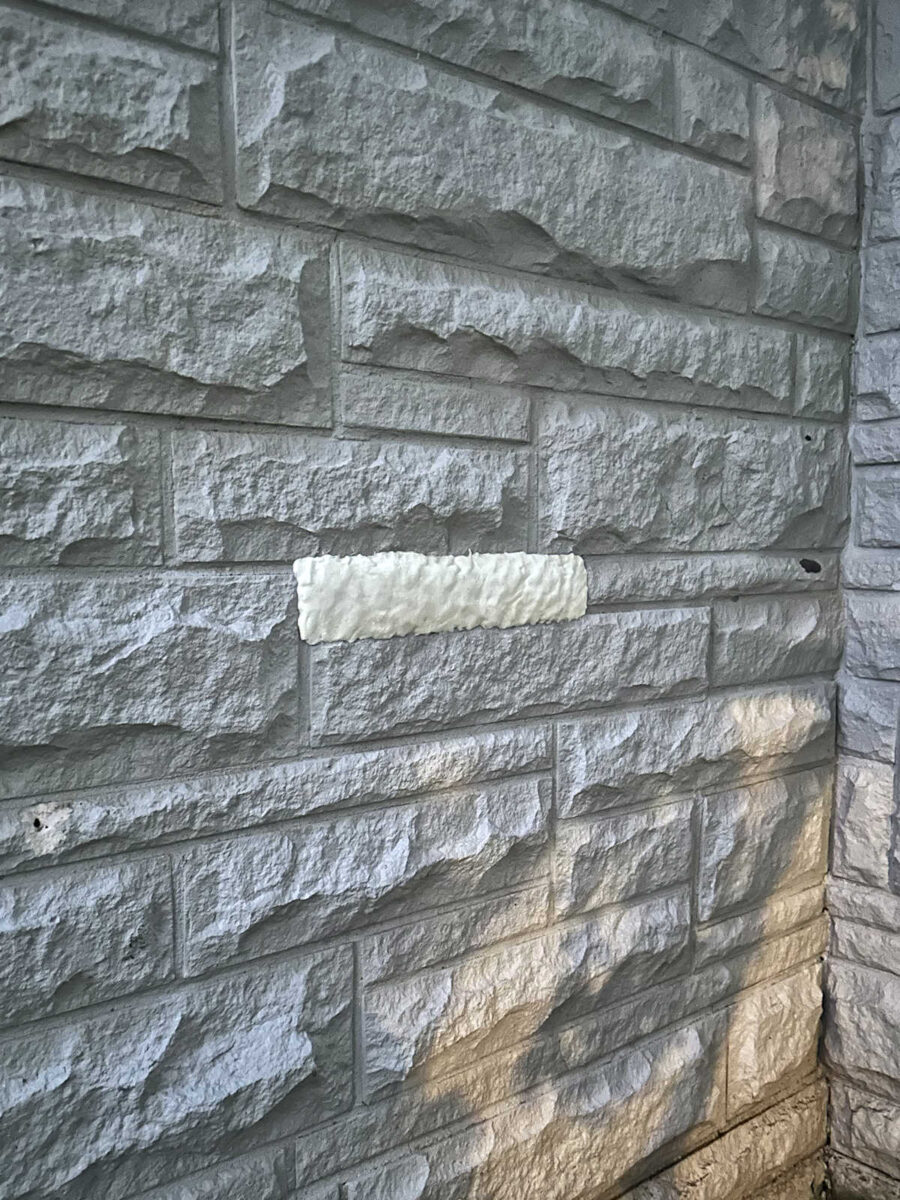
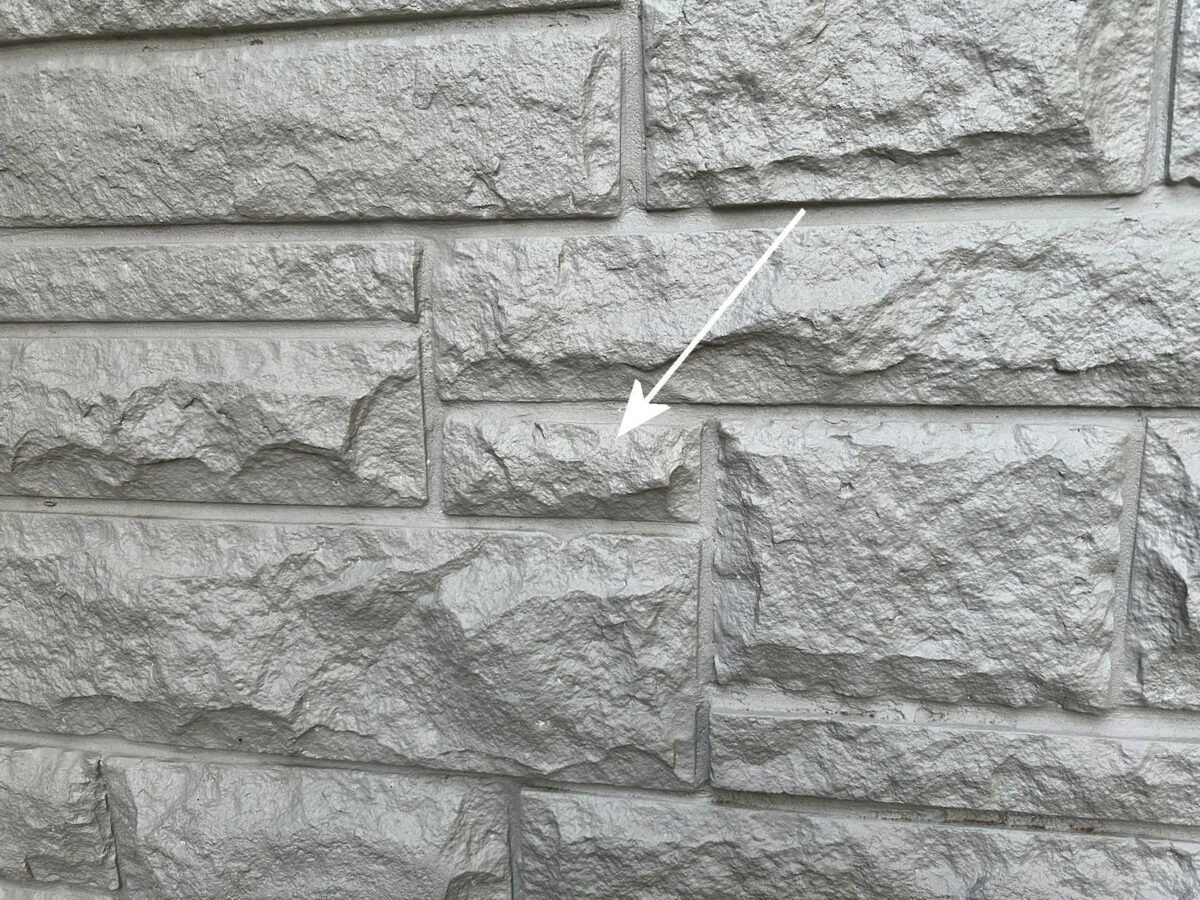
And here’s a view of the stone on the front of our house. You can tell immediately, just from how the stone is cut and chiseled on the front, if it is modern or if it was built around the mid-century time period. Back then, they chiseled the stone so that the center of the face of each stone protruded much more. There aren’t many stones on our house that have a flat face on them.
So when I tried to find matching Austin stone (real or fake) to match our house, it was virtually impossible. I found some that may have worked, but they were generally pretty expensive, and I didn’t want to pay that much for something that wasn’t an exact match. So I ended up giving up on that idea and trying to find other ways to cover the skirting.
Well, after trying a couple of other ideas, and then considering a few others, I’m back to the Austin stone idea. No, I didn’t find a source for matching Austin stone. Instead, this time I’ve decided to make my own. Here’s the process I’ve decided on: (1) make my own silicone molds (i.e., textured mats) using the stone on our house as the mold form for the silicone molds, (2) use those silicone textured mats inside of basic concrete molds that I’ll build to fit the size of each mold (or textured mat) that I make, (3) create my own stone facade pieces using an aircrete mixture so that the stone facade is lightweight and can be adhered to the front of the concrete skirting area, and (4) prime and paint the stone to match the rest of the house.
I have no idea if this will actually work, but I’m going to have fun trying! I’ve already made four silicone molds (one fail and three successes), and I think I need a total of six usable molds for my front porch. This process was actually very easy, so let me show you how I did it.
How to make easy DIY silicone molds (two ingredients):
This is not my original idea. I saw this process on YouTube (I shared this video with you in post last week), and he made it look so easy. So I decided to try it out and see if this would work for my project.
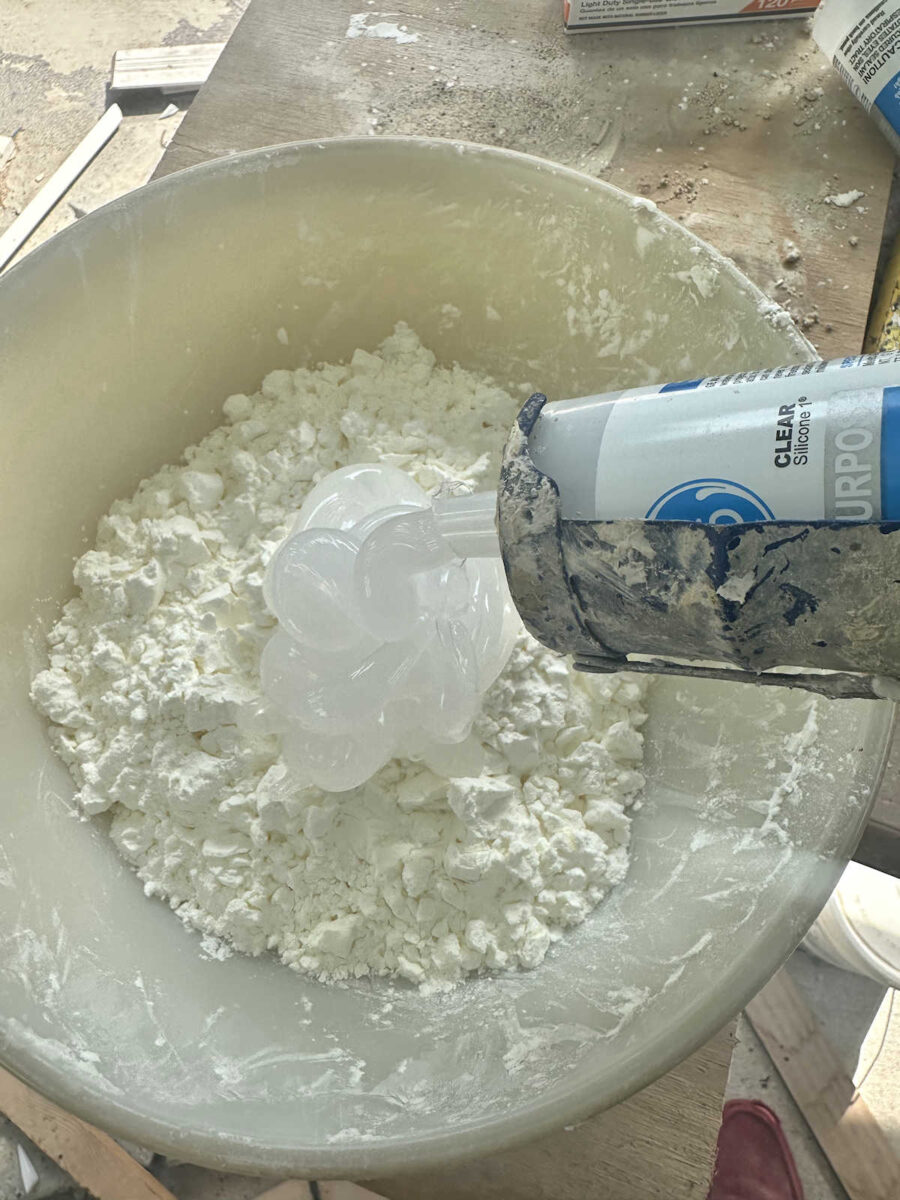
To make your own silicone molds, you need two ingredients — 100% all purpose silicone caulk and cornstarch. I used a glass bowl and poured an entire package of cornstarch into the bowl. You can use the cheapest cornstarch you can find. Unfortunately, this Bob’s Red Mill was the only brand available at the store I happened to go to, and it costs about twice the price of cheap cornstarch at about $3/package. But the cheap stuff works just fine.
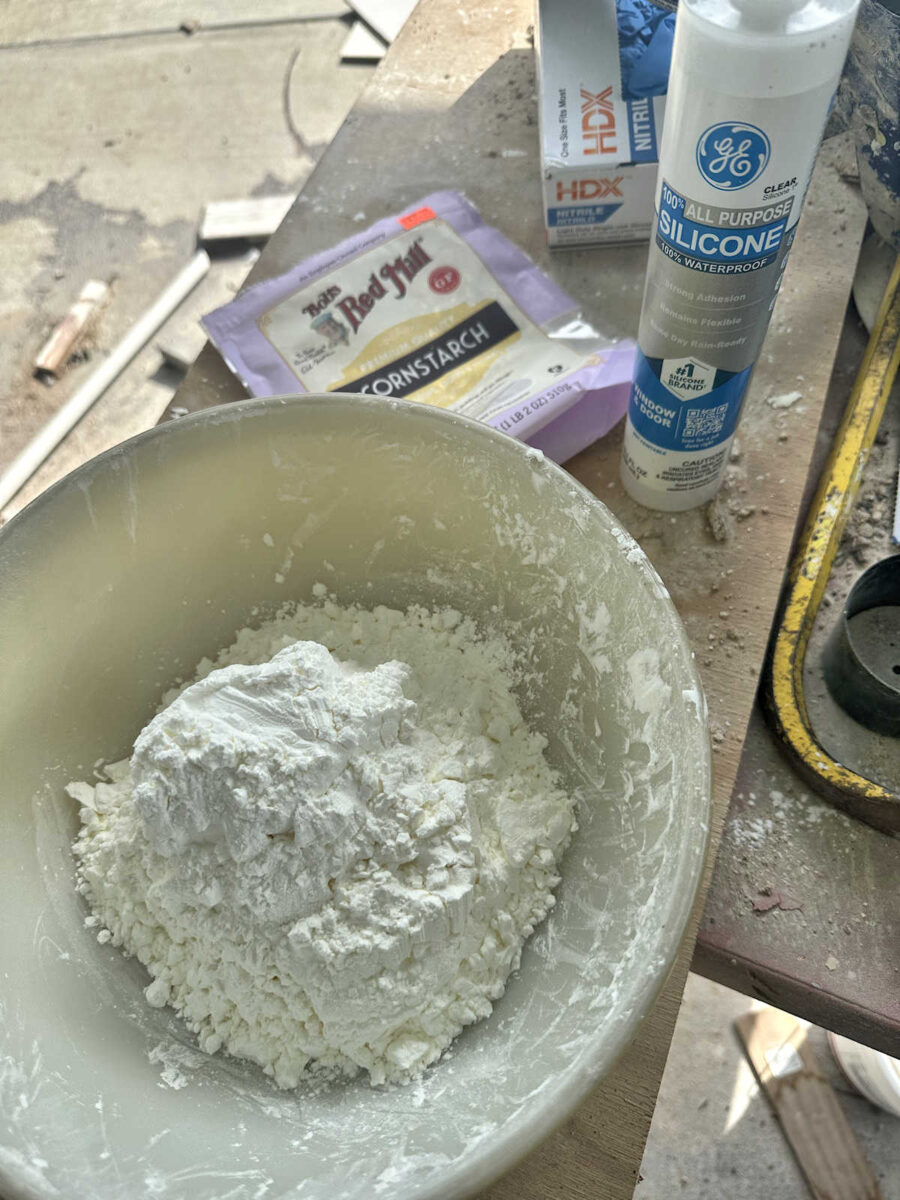
And then I used my caulk gun and squeezed out two entire containers of silicone caulk right into the center of the cornstarch.
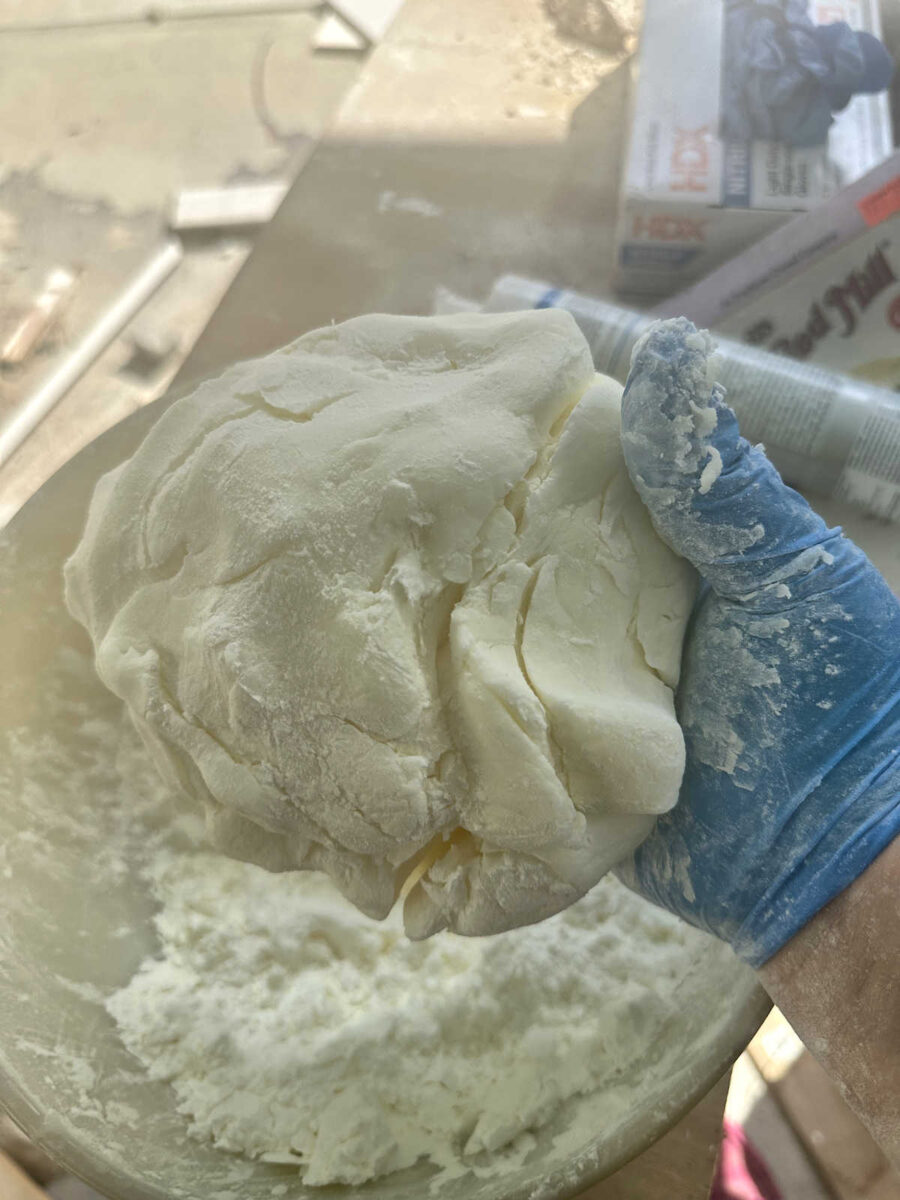
And then I put some gloves on and began mixing the caulk into the cornstarch. I tried my hardest not to touch the caulk directly because that stuff is really sticky. I basically folded the cornstarch over onto the caulk, making my way around the bowl, folding the cornstarch over onto the caulk all the way around the bowl until the caulk lost most of its stickiness. I stopped when the caulk and cornstarch mixture formed a ball that felt like the consistency of Play-doh.
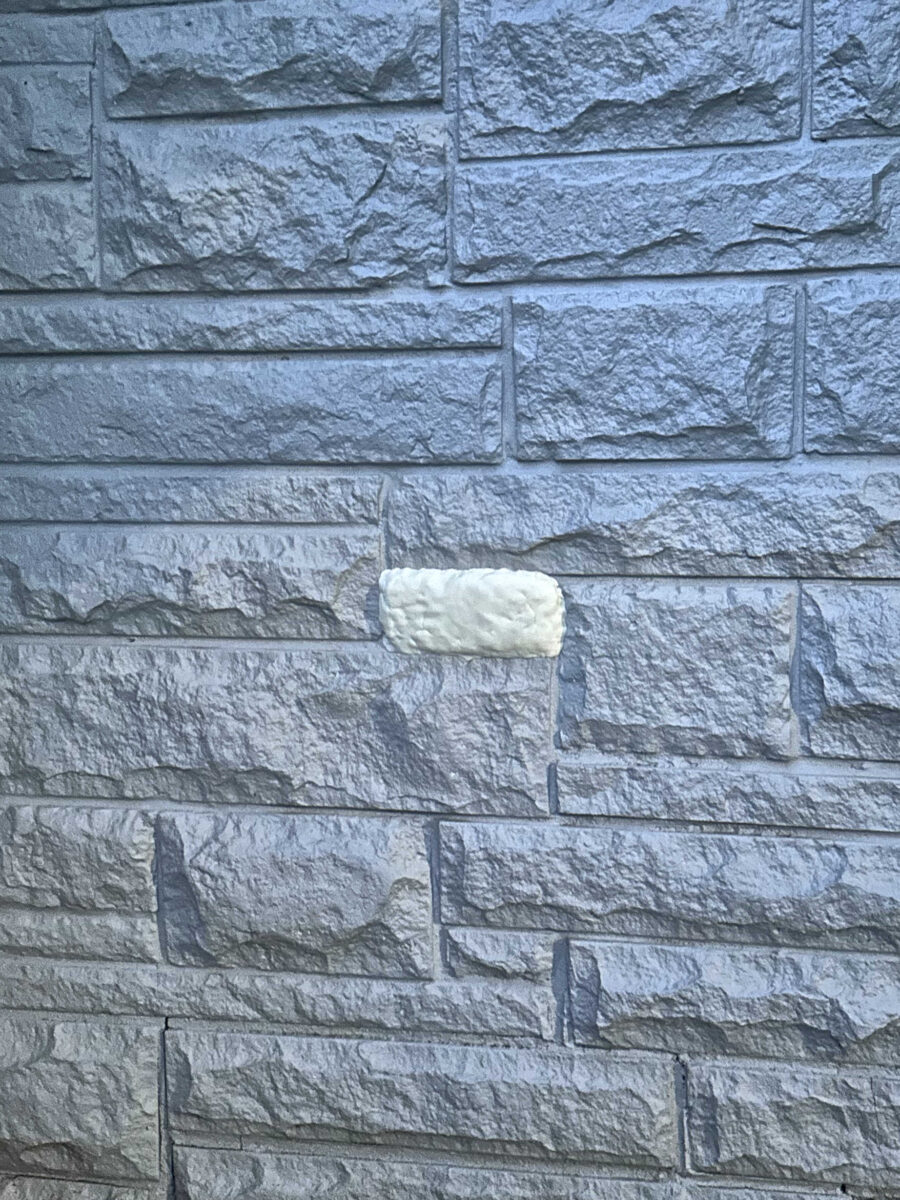
And then I selected the stone I wanted to use to form the first silicone mold and pressed the silicone and cornstarch ball onto the face of the stone. I really had no idea what I was doing on this first one, so this was my test.

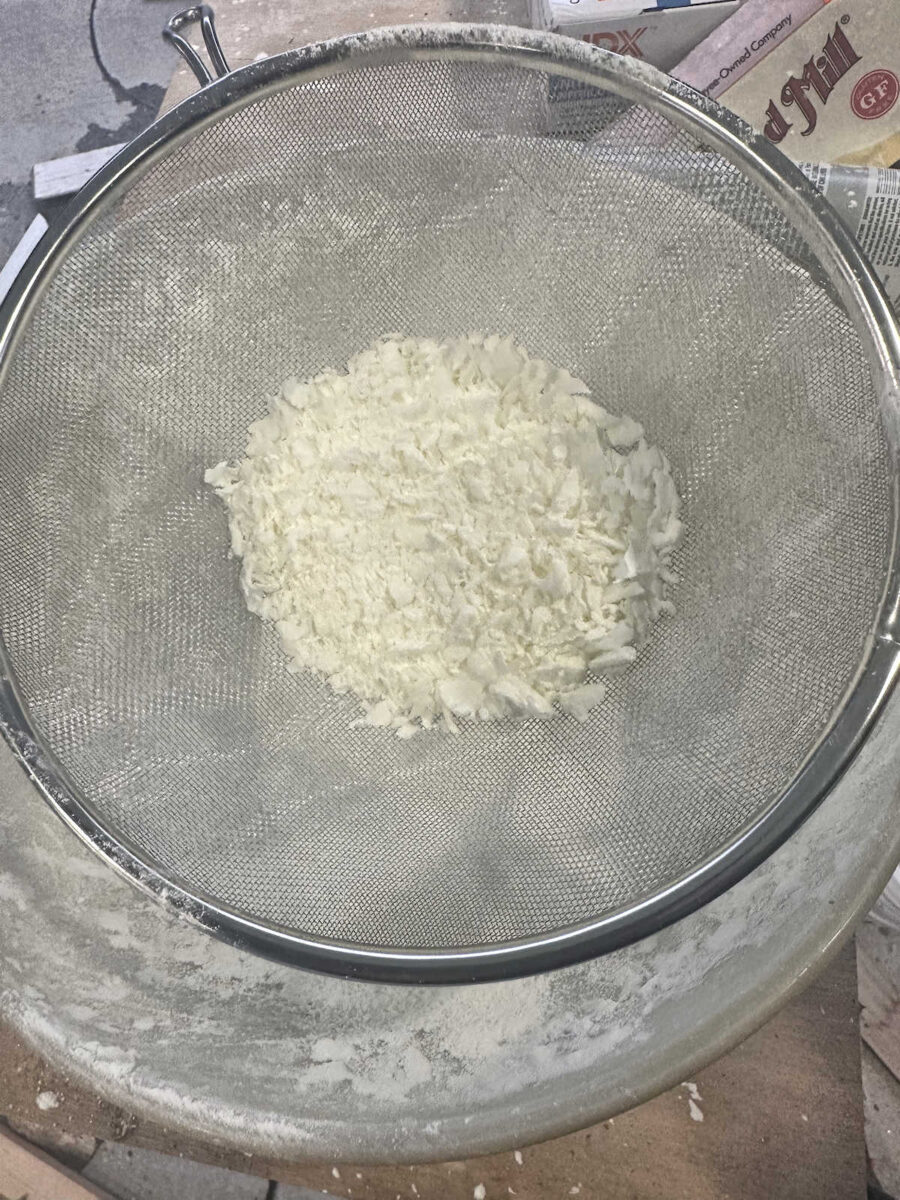
I gave that about three hours to dry. While it was drying, I used a sieve to remove all of the caulk bits from the remaining cornstarch so that I could reuse the leftover cornstarch for the next mold.
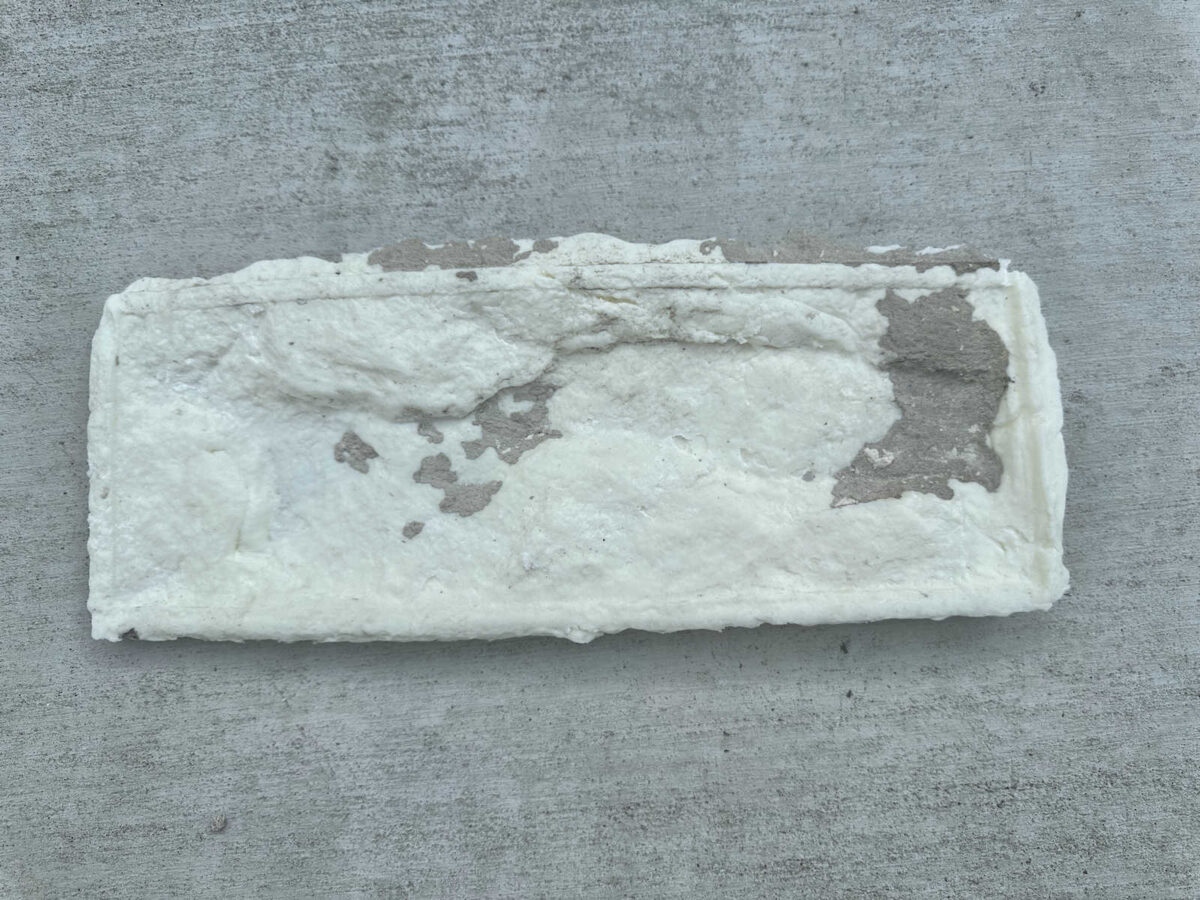
Removing that silicone from the stone was a challenge, and as I pulled it off, it pulled some of the paint from the stone. (You can see the color that the stone was painted when we bought the house. Bleh. I certainly didn’t want an entire house painted that color.)

This is what the silicone mold (or textured mat) looked like when I removed it. I doubt that this one is actually going to be usable since concrete will probably stick to those rough areas. But this test gave me insight into what I needed to do for the next one.
I rummaged through my cabinets to see what I could find to use as a mold release, and I found this little bottle of olive oil that has been in my cabinet far too long to use for cooking.

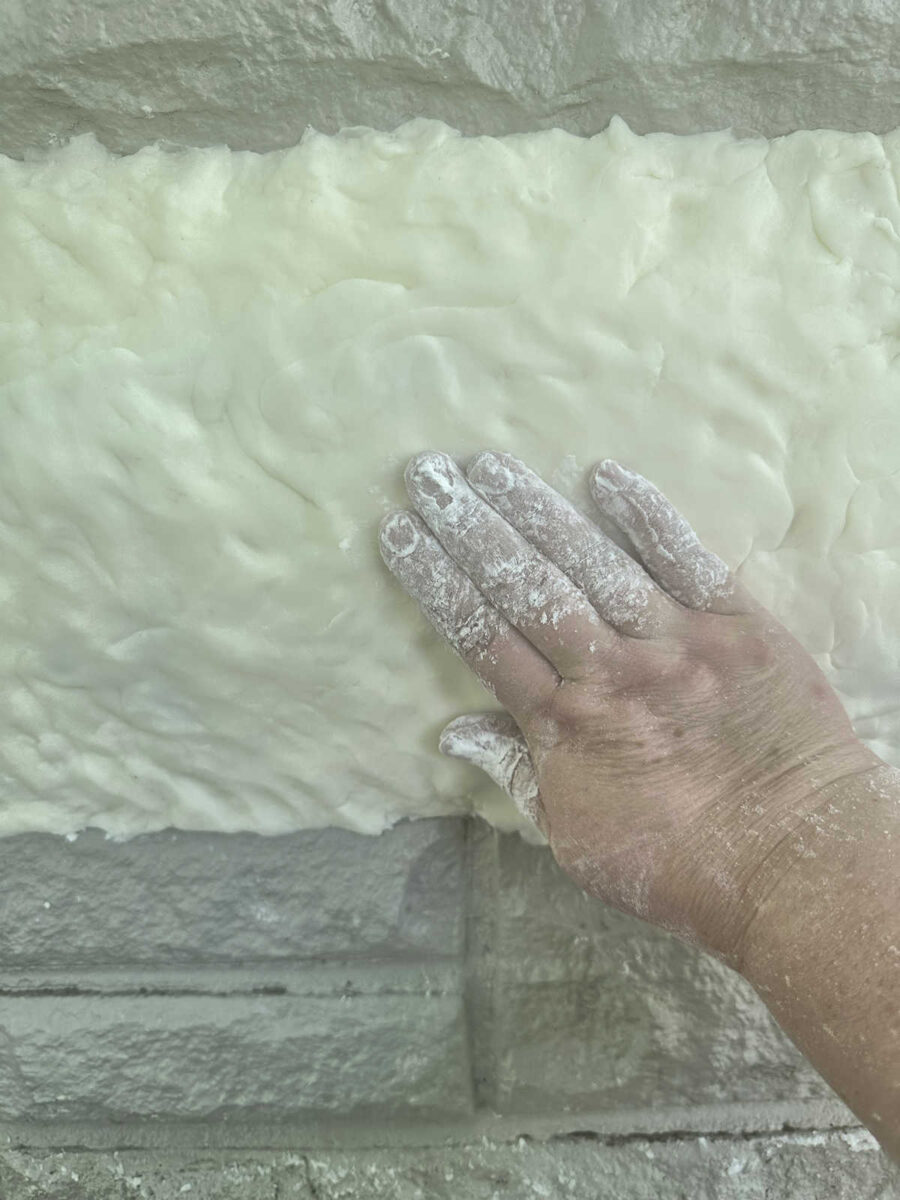
So on the next one, before pressing the silicone to the stone, I covered the center area of the stone with a very light coat of olive oil. I just used my gloved fingers to do this. I didn’t put it all the way to the edges because I needed the silicone to grab onto something, and if the whole thing was covered with olive oil, it would have nothing to grab onto. But I really just needed a mold release on the most heavily textured areas, which is the center part of each stone.
And then I removed my gloves (I didn’t want to get olive oil mixed into the silicone) and coated my hands with cornstarch to press the silicone onto the stone. I had about 15 minutes of working time with each silicone/cornstarch ball.
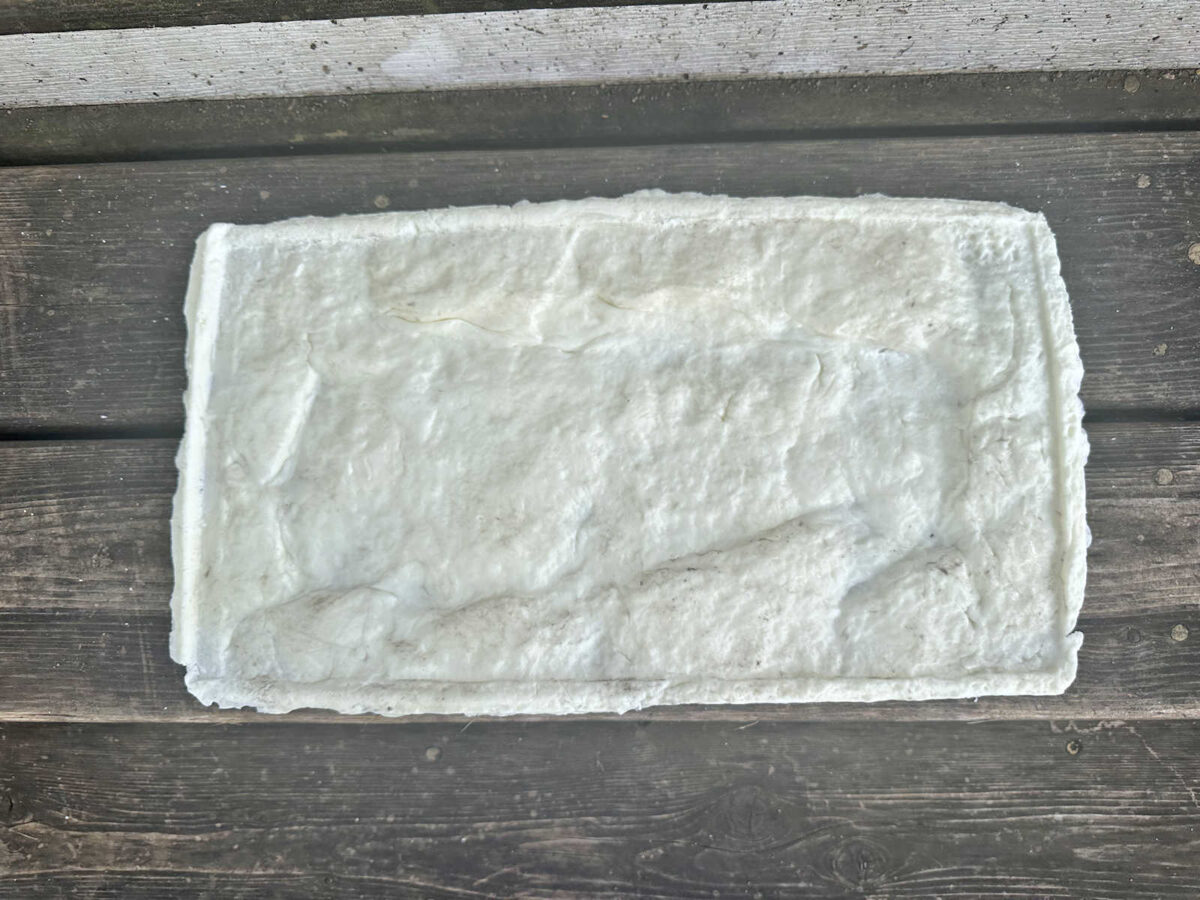
This one worked out perfectly. Again, I gave it about three hours to completely dry, and when I pulled it off of the stone, it looked great! No paint pulled off of the stone with this one. So using some sort of mold release is key to getting a great result with the textured mat.
With my second test done and resulting in success, I did two more at the same time. Since my front porch skirting area is pretty short, I wanted to create a mold for a couple of shorter and smaller stones. I selected this one…
And here’s what that looked like with the silicone pressed onto it…
And then I selected this little one.
Here’s that one with the silicone…
Both of those turned out great as well. The oil used as a mold release is the key. But again, I only added the oil to the most textured center parts of the stone so that the silicone would stick to the outer areas that didn’t have any oil on them.
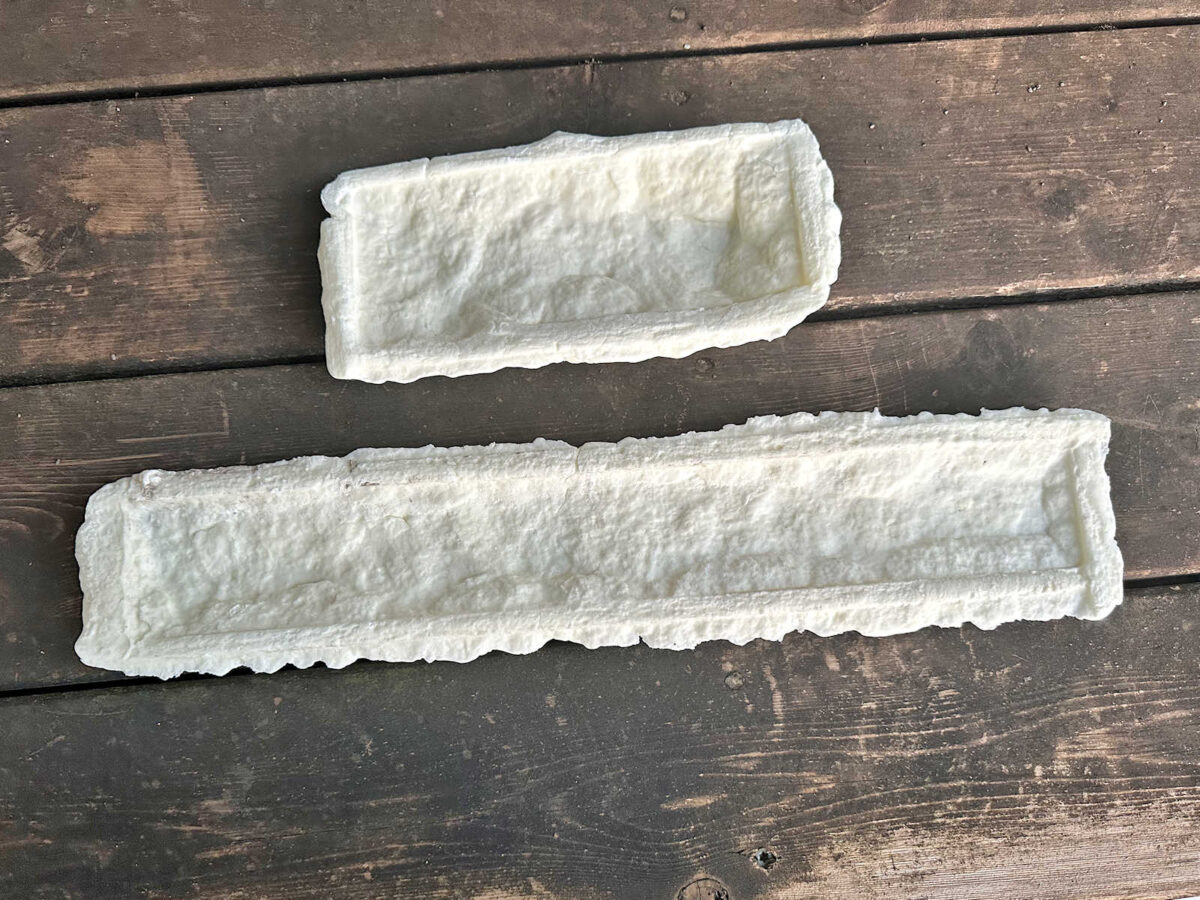
It took a lot of trial and error, and of course, a lot of waiting (about three hours for each one to dry before removing it), but I think this idea is going to work. Right now, I have three usable molds and one fail. I’d like to have a total of six usable molds before I go to the next step. I’ll need to trim these molds and then build some sides around them to give me something that I can pour concrete (I’ll be mixing aircrete) into to give me my full form for each stone. So stay tuned to see if I can actually pull this off! Right now, I’m about 75% confident that I can do this. 😀
More About Our House Exterior & Yard

see all exterior &
yard diy projects

read all exterior &
yard blog posts

Addicted 2 Decorating is where I share my DIY and decorating journey as I remodel and decorate the 1948 fixer upper that my husband, Matt, and I bought in 2013. Matt has M.S. and is unable to do physical work, so I do the majority of the work on the house by myself. You can learn more about me here.
